Follow Me On Social Media!

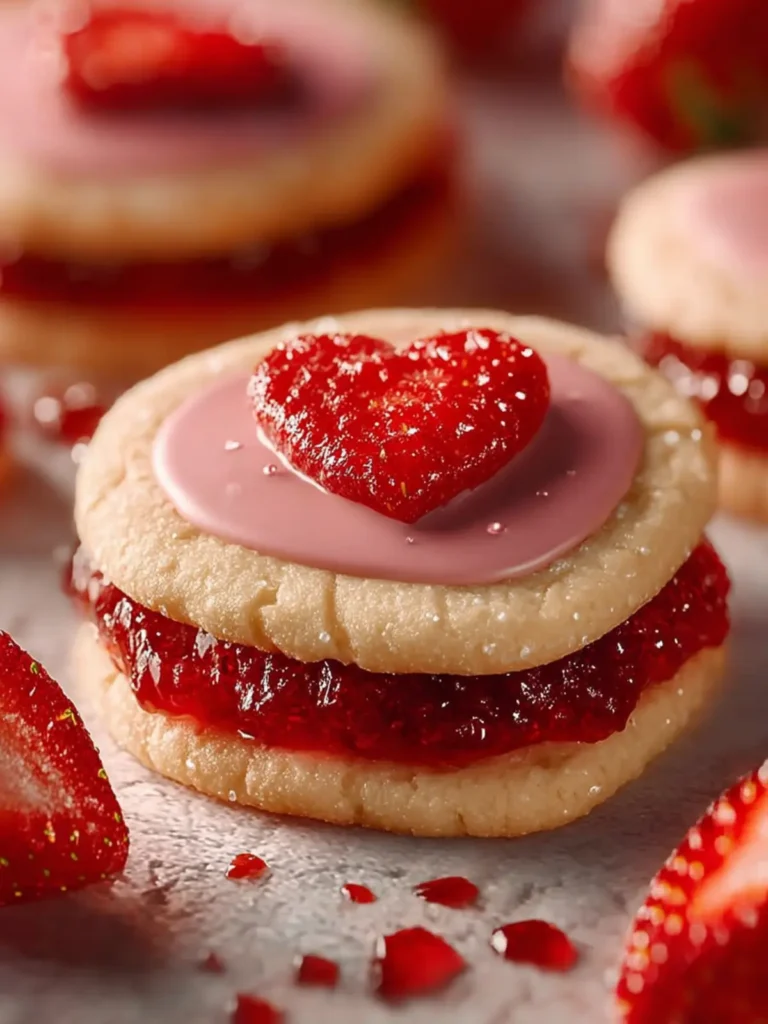
Classic Thumbprint Cookies that Delight Every Bite
Introduction to Classic Thumbprint Cookies
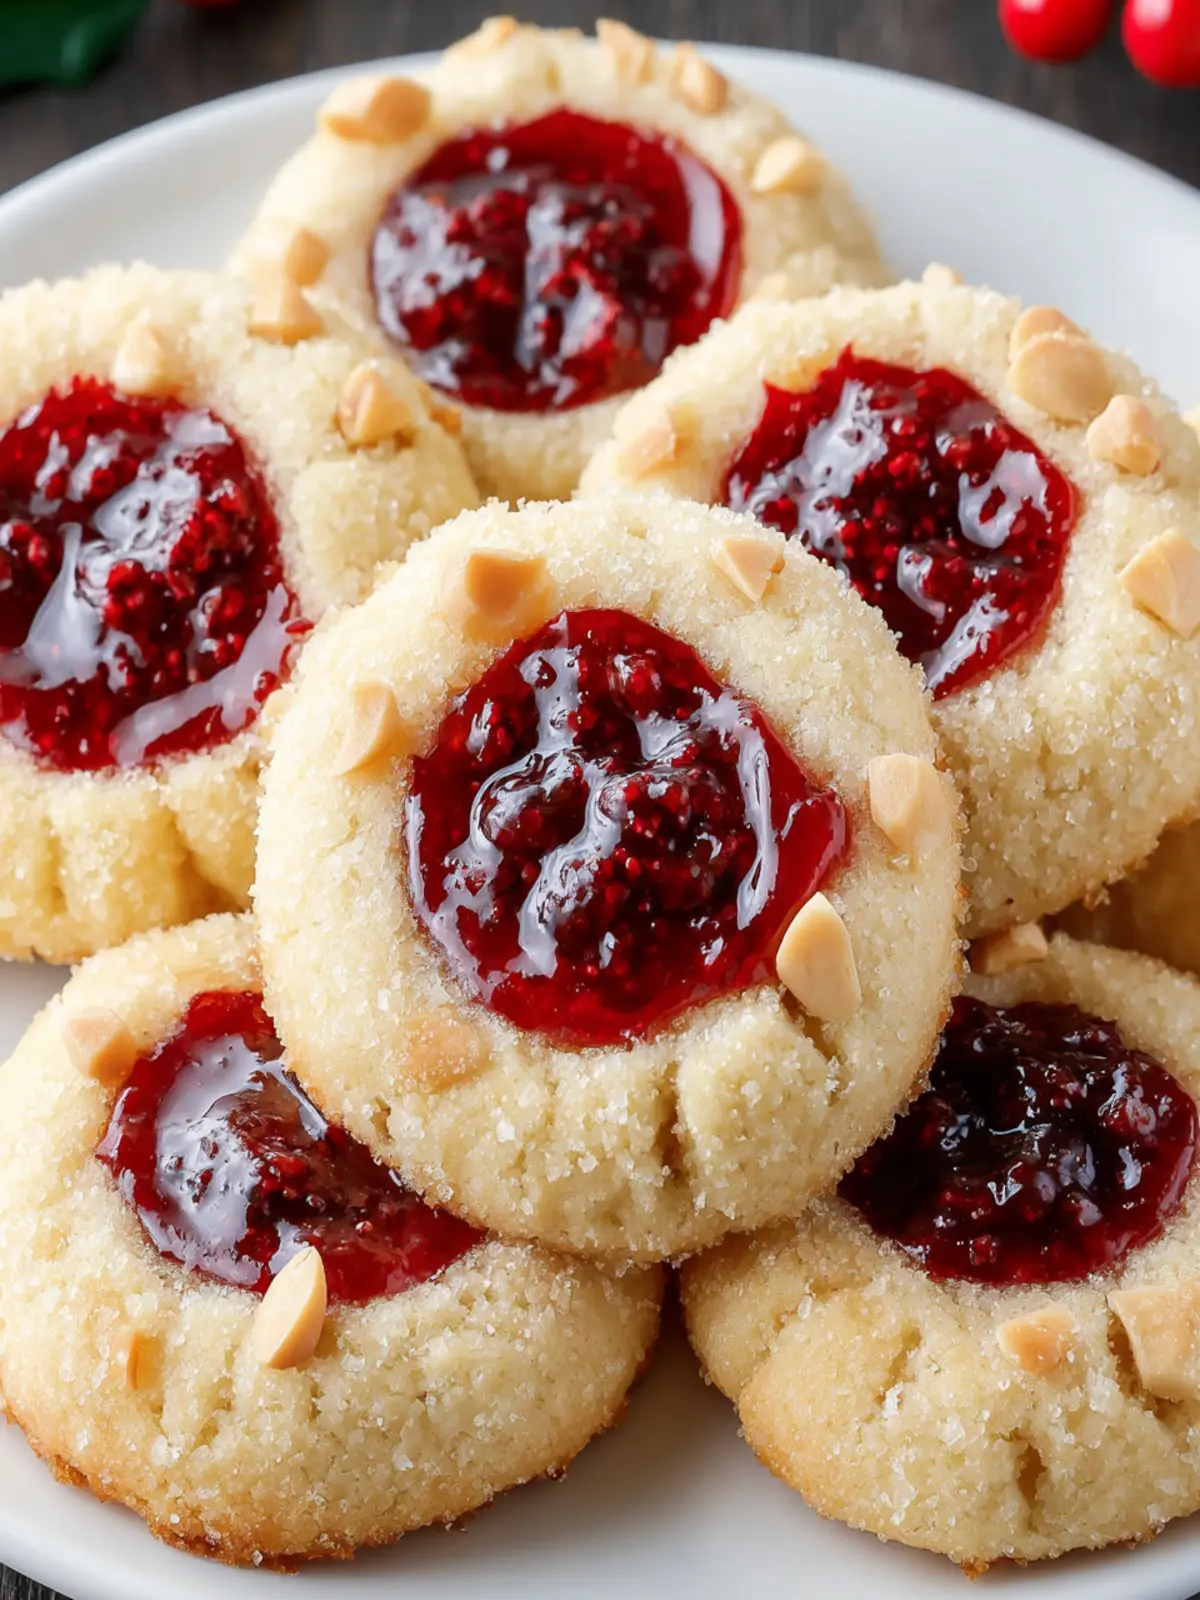
Classic thumbprint cookies are more than just a delectable treat; they are a warm reminder of home and cherished moments spent in the kitchen. Imagine the aroma of freshly baked cookies wafting through your house, beckoning friends and family to indulge in these delightful morsels. With their unique shape and luscious fruit preserves nestled in the center, classic thumbprint cookies have an innate ability to evoke nostalgia and spark joy.
What makes Classic Thumbprint Cookies so special?
The magic of classic thumbprint cookies lies in their simplicity, yet they deliver a powerful punch of flavor and texture. The base of these cookies is made from a buttery dough, which results in a tender and melt-in-your-mouth experience. Each thumbprint creates a small well, waiting to be filled with your choice of jam or chocolate ganache—this versatility is part of what sets them apart.
- Familiarity and Comfort: The act of pressing your thumb into the dough to make the perfect indentation is a comforting ritual, connecting us to our roots and the sweeter things in life.
- Creative Freedom: You can fill these cookies with any jam or preserve that suits your taste—raspberry, strawberry, or even lemon curd, making each batch uniquely yours. This flexibility encourages creativity in the kitchen, allowing you to experiment with flavors and combinations.
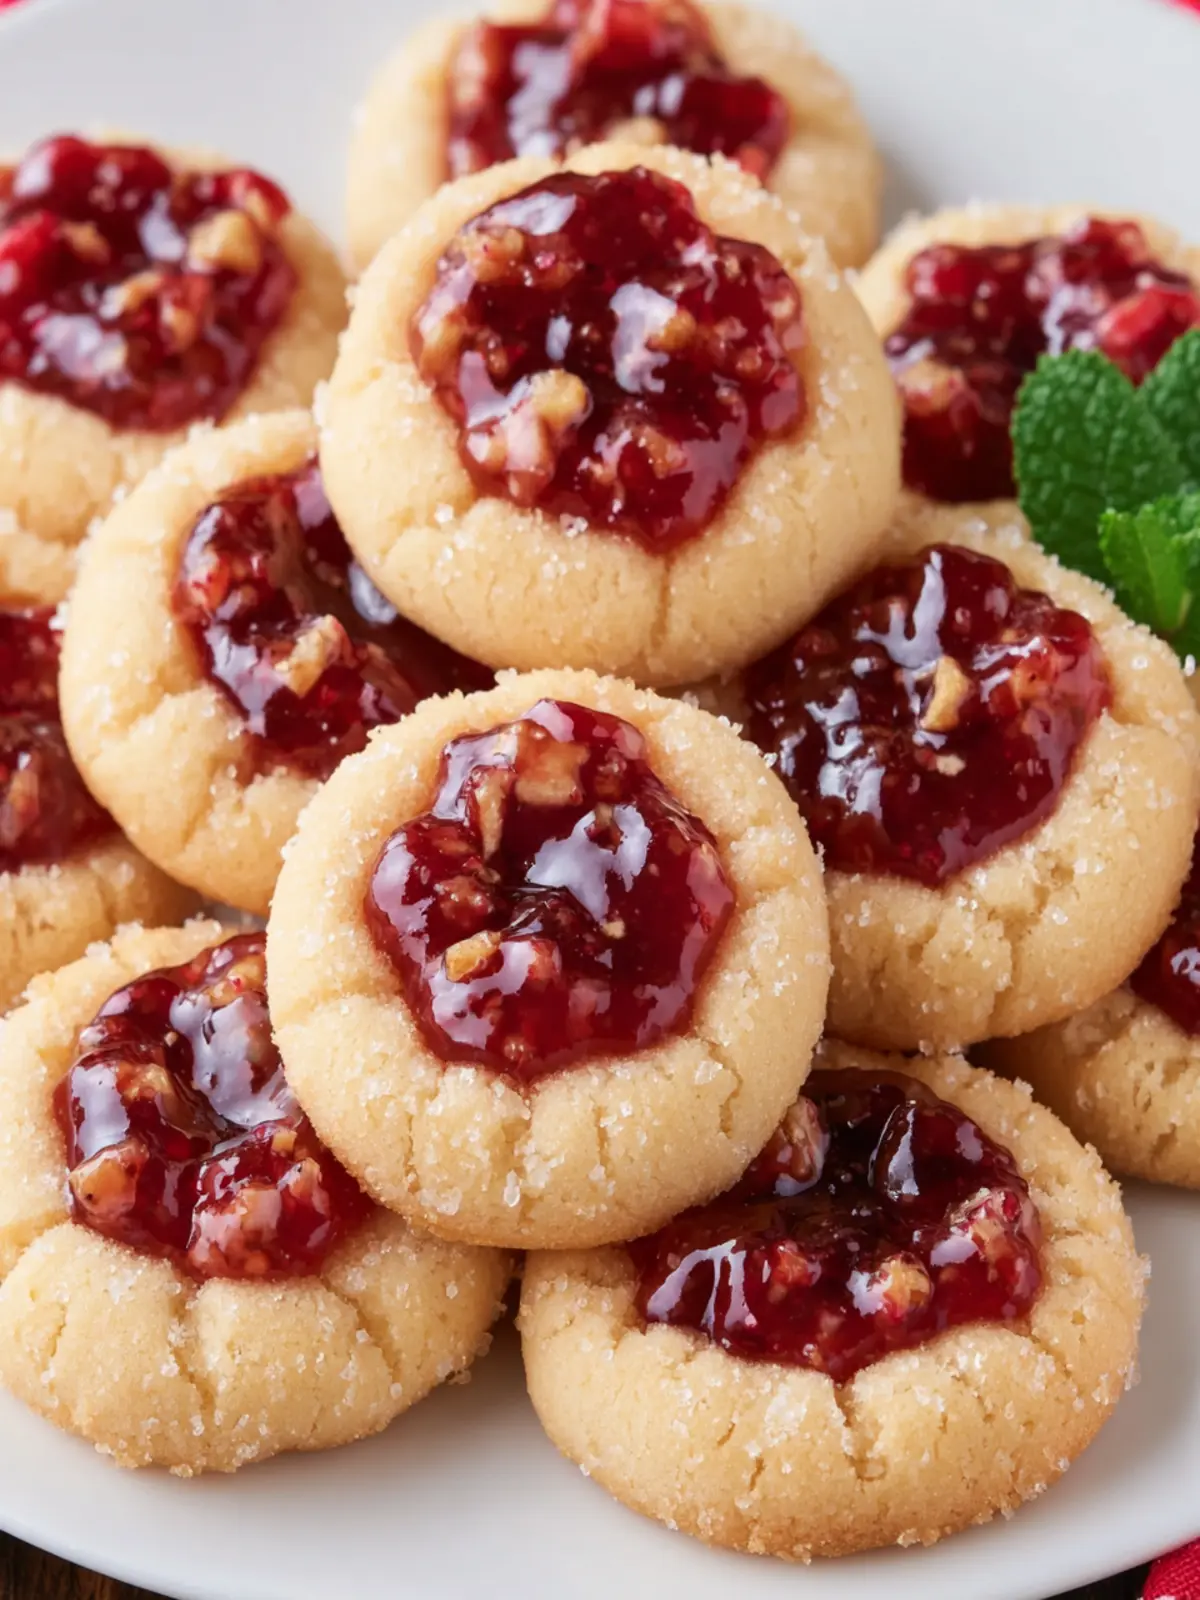
- A Beautiful Presentation: Not only are they delicious, but classic thumbprint cookies are visually enticing. Whether you’re hosting a gathering, gifting a batch, or simply treating yourself, these cookies bring joy with their lovely little glistening centers.
Ultimately, classic thumbprint cookies are more than just another dessert; they symbolize love, creativity, and togetherness. The next time you bake a batch, consider inviting friends over to personalize their own cookies or reminisce about your favorite childhood baking memories. After all, good food is best enjoyed together.
Key Ingredients for Classic Thumbprint Cookies
Baking classic thumbprint cookies is about more than just mixing ingredients; it’s a nostalgic journey back to those cozy afternoons with family, where every bite holds a memory. These cookies are simple yet delightful, and the key ingredients work together to create that perfect chewy texture with a sweet jam center.
-
Butter: The heart and soul of these cookies, butter brings a rich flavor that melts in your mouth. I prefer using unsalted butter for better control over the sweetness.
-
Sugar: Granulated sugar gives a delightful sweetness, while powdered sugar adds a touch of elegance. This combination makes for a tender and melt-in-your-mouth texture that you’ll adore.
-
Flour: All-purpose flour is ideal for creating the perfect structure in these cookies. Be sure to spoon and level it when measuring to avoid dense cookies.
-
Eggs: Just one egg adds both moisture and stability. Remember to use it at room temperature for the best incorporation into the dough.
-
Jam: This is where creativity shines! I love using homemade raspberry or apricot jam, but feel free to try out different flavors that tickle your fancy.
With these wonderful ingredients, your adventure in baking classic thumbprint cookies will certainly be a memorable one.
Why You’ll Love This Recipe
Classic thumbprint cookies evoke a sense of nostalgia, reminiscent of warm kitchens filled with the tantalizing scent of freshly baked treats. These delightful cookies not only bring warmth to your home but also create a scrumptious experience that you’ll cherish and want to share.
-
Simple Yet Elegant: The beauty of classic thumbprint cookies lies in their simplicity. With just a handful of ingredients—flour, butter, sugar, and a fruity jam or chocolate filling—you can create something truly special. This recipe doesn’t require advanced baking skills; even novice bakers will feel like pros as they shape the cookies and fill them with their favorite spreads.
-
Versatile Flavors: One of the joys of making thumbprint cookies is experimenting with different fillings. Whether you prefer raspberry jam, apricot preserves, or rich chocolate ganache, each batch can taste completely different, making it easy to satisfy everyone’s palate.
-
Perfect for Any Occasion: Be it a festive gathering, a cozy family dinner, or just a sweet treat for yourself, these cookies fit seamlessly into any occasion. They also make for delightful gifts—just package them beautifully, and you have a homemade present that will warm hearts.
Once you try these classic thumbprint cookies, you’ll understand why they have stood the test of time as a beloved treat.
Variations on Classic Thumbprint Cookies
The joy of classic thumbprint cookies lies not only in their simplicity but also in their versatility. With a few adjustments, you can create variations that cater to different palates and occasions.
Flavor Twists
-
Nutty Delight: Replace a portion of the flour with finely ground almonds or hazelnuts, adding a delightful nutty flavor. This variation pairs beautifully with chocolate or raspberry fillings.
-
Citrus Burst: Add a teaspoon of lemon or orange zest to the dough for a fresh, citrusy twist. This adds a bright note that balances sweet fillings perfectly.
Filling Options
Consider experimenting with fillings beyond the traditional fruit jams:
-
Chocolate Ganache: For the chocolate lovers, simply fill the thumbprint with rich chocolate ganache. The melted chocolate will harden slightly when cooled, creating an indulgent treat.
-
Peanut Butter: A dollop of creamy or crunchy peanut butter can add a savory kick. Pair it with a sprinkle of flaky sea salt on top for added flavor.
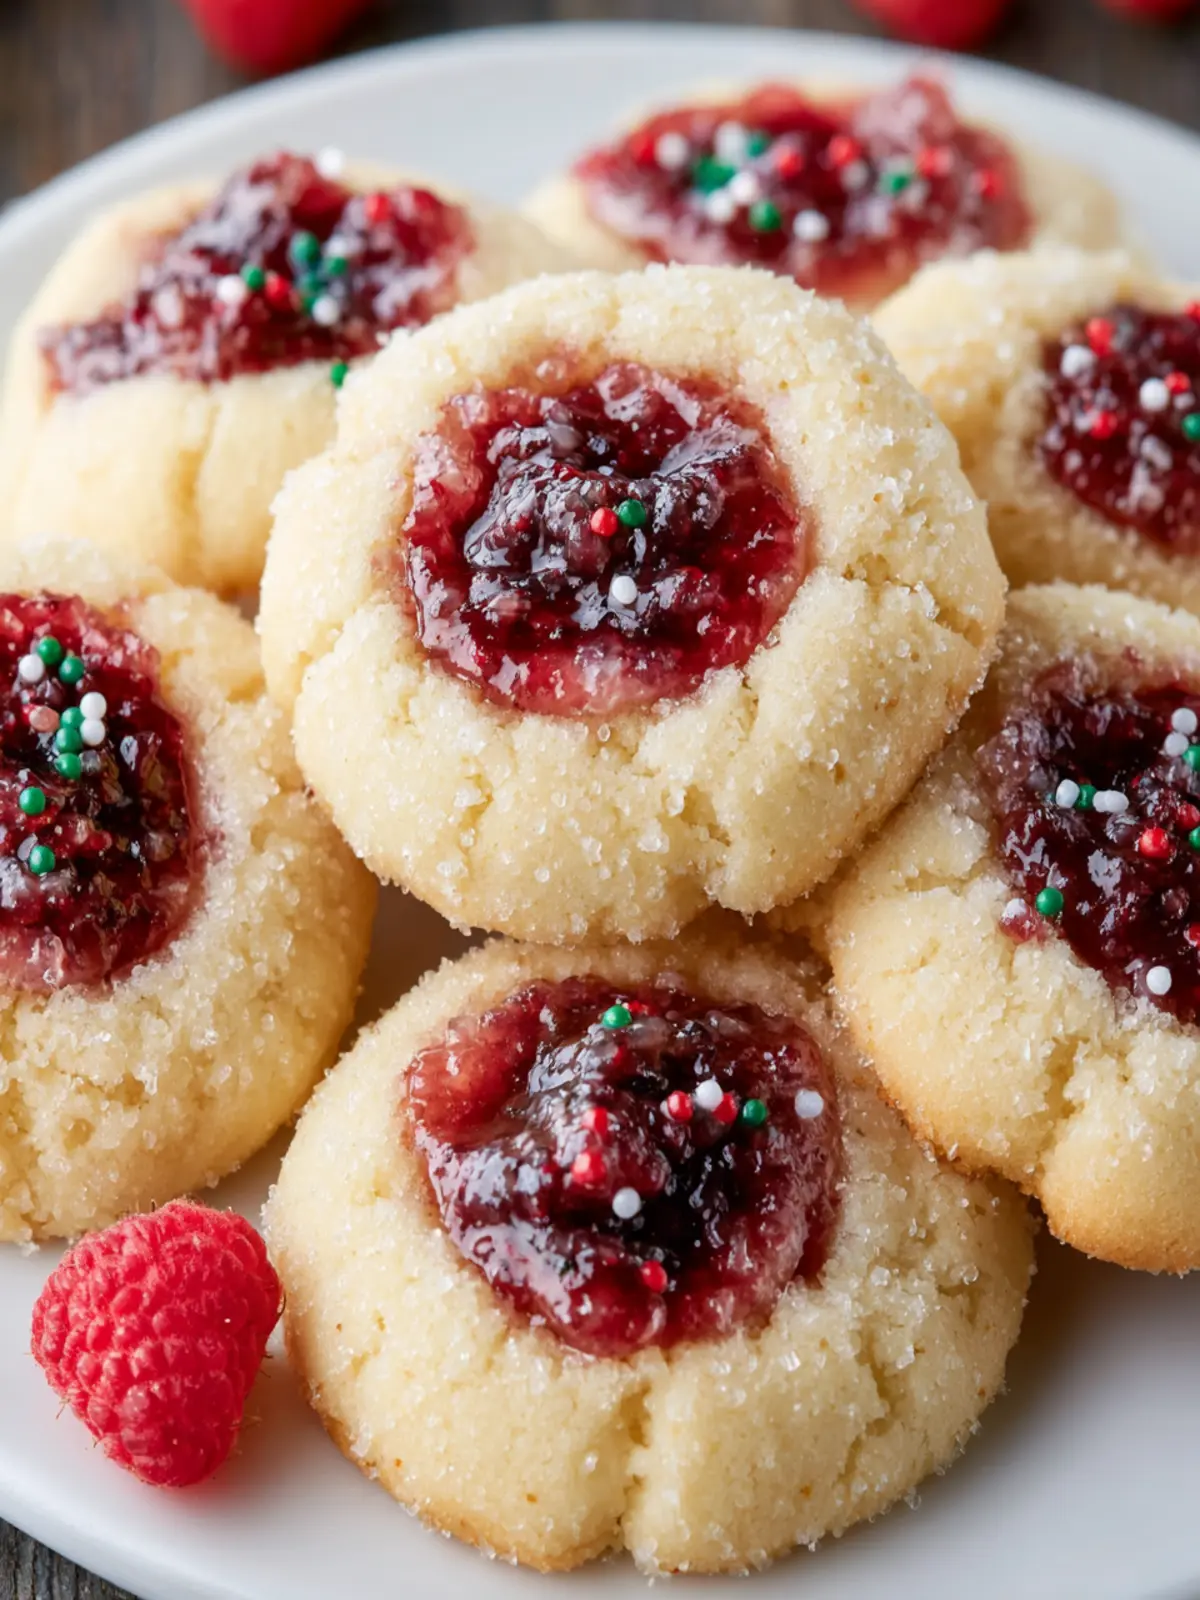
Holiday Themed Cookies
For festive occasions, try these creative variations:
-
Pumpkin Spice: Incorporate pumpkin puree and warming spices like cinnamon and nutmeg into the dough for a cozy, autumn-inspired treat. Fill with cream cheese frosting for an extra layer of deliciousness.
-
Candy Cane Crunch: Crush up candy canes and mix them into the dough, then fill with peppermint-flavored chocolate. This festive touch makes them perfect for the holiday season.
These variations on classic thumbprint cookies will keep your baking exciting and your taste buds happy!
Cooking Tips and Notes for Classic Thumbprint Cookies
When you dive into the world of classic thumbprint cookies, it’s important to embrace the details that make these treats truly special. A few simple tips can elevate your baking game and bring smiles to everyone who enjoys these delightful sweets.
Choosing the Right Jam
Opt for your favorite fruit jam or preserves for the filling. My go-to is raspberry jam because it perfectly balances the sweetness of the cookie with a bit of tartness. Just ensure it’s thick enough to hold its shape in the cookie’s well. If it’s too runny, it might spill over during baking!
Butter Temperature Matters
Using room temperature butter is crucial in achieving that soft, chewy texture we all love in classic thumbprint cookies. Cold butter won’t cream well with sugar, leaving you with a dense cookie. Let it sit out for about 30 minutes before you start mixing.
Chill the Dough
After shaping your cookies and making the thumbprint, consider chilling the dough on the baking sheet for about 15 minutes before baking. This not only helps maintain the shape but also intensifies the flavors as they meld together in the oven.
Don’t Overbake
Keep a close eye on your cookies. They should be gently golden on the edges while still soft in the center; they’ll firm up as they cool on the baking sheet. Remember: slightly underbaked cookies are always better than overbaked ones!
By keeping these tips in mind, your classic thumbprint cookies will not only impress but also provide that perfect mix of nostalgia and deliciousness that everyone craves.
Serving Suggestions for Classic Thumbprint Cookies
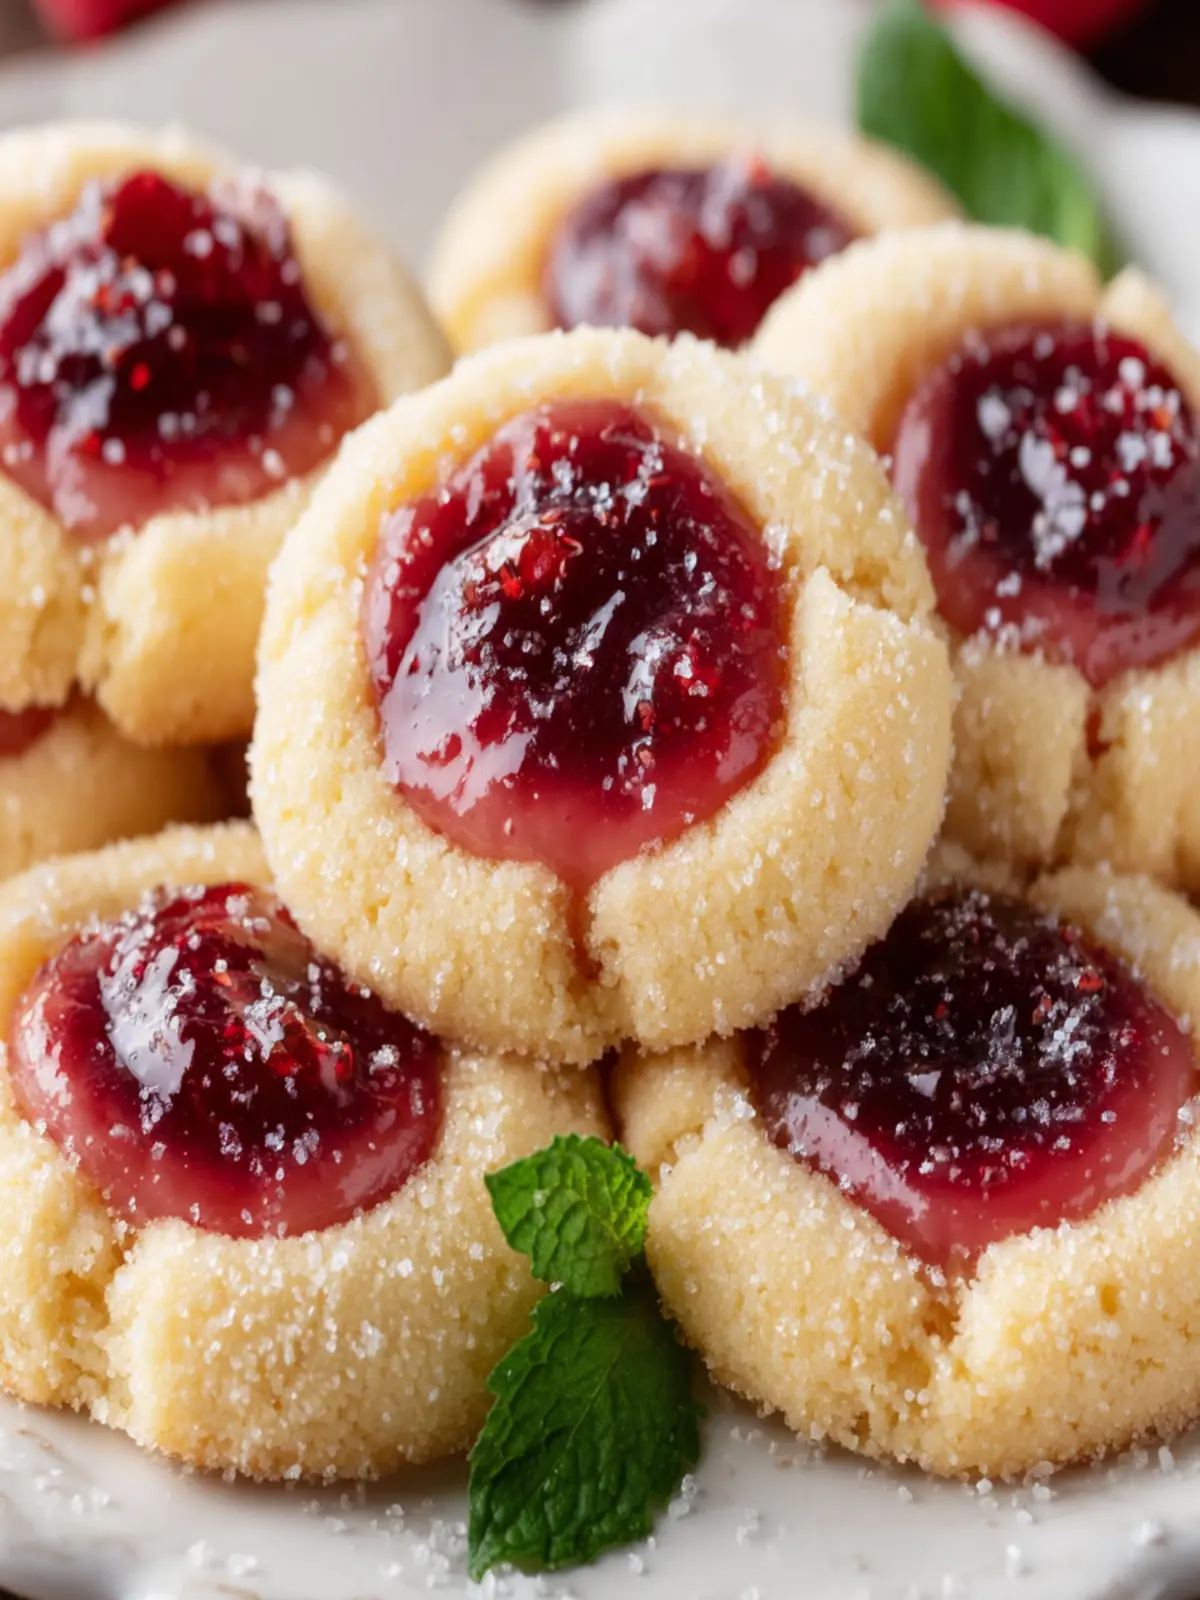
When it comes to enjoying classic thumbprint cookies, the experience becomes even more delightful when you consider a few creative serving suggestions. Picture this: a cozy gathering with friends where these cookies take center stage, their charming little indents filled with jewel-toned jams glistening in the light.
-
Pair with a Warm Beverage: Serve your thumbprint cookies alongside a steaming cup of coffee or tea. The rich flavors of the cookies blend perfectly with the warmth of a spiced chai or the smoothness of a dark roast, elevating your treat time.
-
Ice Cream Sandwiches: Take your classic thumbprint cookies to the next level by sandwiching a scoop of your favorite ice cream between two cookies. Whether you choose vanilla bean or a fruity sorbet, the combination will leave your taste buds in heaven.
-
Gift-Worthy Presentation: Stack your cookies in a decorative box or jar. Tying it up with a ribbon makes for a thoughtful gift that’s perfect for holidays or just to let someone know you care.
These serving ideas will not only enhance your enjoyment but also make your classic thumbprint cookies a delightful addition to any occasion.
Time Breakdown for Classic Thumbprint Cookies
When you’re ready to bake classic thumbprint cookies, understanding the time commitment can help keep your kitchen process smooth and enjoyable. These cookies are well worth the wait!
Preparation Time
Getting started on your classic thumbprint cookies requires about 20-25 minutes for preparation. This includes measuring out ingredients, mixing the dough, and forming the cookies. Don’t rush this process; it’s where the magic begins!
Baking Time
Once the dough is prepped, you’ll need to bake the cookies for about 12-15 minutes. Keep an eye on them as they turn a delightful golden brown; that’s your cue that they’re nearing perfection.
Total Time
In total, you’re looking at around 35-40 minutes from start to finish. That’s a small investment of time for a delicious batch of classic thumbprint cookies that will surely impress family and friends!
Nutritional Facts for Classic Thumbprint Cookies
When you indulge in classic thumbprint cookies, it’s delightful to savor their rich almond and fruit flavors, but it’s also important to consider the nutritional profile. Each cookie offers a balance of sweetness and satisfaction, so let’s take a closer look at what you’ll find in these tasty treats.
Calories
In moderation, each classic thumbprint cookie contains approximately 100 calories, making it a blissful yet manageable addition to your dessert repertoire.
Protein
While cookies aren’t typically a significant source of protein, a single classic thumbprint cookie provides around 1.5 grams. Pair it with a glass of milk for a quick post-workout snack!
Sodium
You’ll find a modest sodium level of about 45 mg in each cookie. This keeps the sodium in check, allowing you to enjoy your dessert without overdoing it.
Whether you’re enjoying them with friends or savoring them solo, these classic thumbprint cookies will surely become a treat you cherish!
FAQs about Classic Thumbprint Cookies
When it comes to baking classic thumbprint cookies, you might have a few questions about achieving that perfect bite that brings back fond memories. Let’s dive into some common inquiries to help you master this delightful treat.
How can I make my thumbprint cookies thicker?
If you’re aiming for thicker classic thumbprint cookies, consider adjusting the flour ratio. Adding a little more all-purpose flour can help create a denser dough. Another trick is to chill the dough for about 30 minutes before baking; this solidifies the butter and prevents spreading, resulting in a thicker cookie. Finally, don’t overmix your dough, as this can lead to thinner cookies due to excess air being incorporated.
Can I use different types of jam for these cookies?
Absolutely! While traditional recipes often call for raspberry or apricot jam, feel free to get creative. Classic thumbprint cookies are versatile and can shine with your favorite preserves. Whether it’s strawberry, blueberry, or even lemon curd, each flavor offers a unique twist. Just ensure the jam isn’t too runny, so it holds its shape in the cookie center.
How should I store my thumbprint cookies?
To keep your classic thumbprint cookies fresh, store them in an airtight container at room temperature for up to a week. If you want to prolong their shelf life, consider freezing them. Just layer them between sheets of wax paper and place them in a freezer-safe bag. When you’re ready to enjoy, thaw them at room temperature, and they’ll taste as good as freshly baked!
Conclusion on Classic Thumbprint Cookies
Crafting classic thumbprint cookies is more than just following a recipe; it’s about creating memories and sharing joy. These delightful treats are a nostalgic nod to family gatherings, balancing buttery softness with the sweet burst of jam in the center. As you step into your kitchen to whip up this recipe, remember how these cookies can bring warmth and comfort to both your palate and your heart. Whether enjoyed with a morning coffee or as an after-dinner sweet, classic thumbprint cookies have an undeniable charm that invites everyone to indulge. Bake, share, and savor every bite—you’ll find they’re more than just cookies; they’re a piece of love.
Print
Jam-Filled Butter Cookies
- Total Time: 33 minutes
- Yield: 24 cookies 1x
- Diet: Vegetarian
Description
Delicious jam-filled butter cookies that are perfect for any occasion.
Ingredients
Scale
- 1 cup (226g) unsalted butter (room temperature)
- 2/3 cup (132g) granulated sugar
- 1 large egg yolk
- 1 tsp vanilla extract
- 2 ¼ cups (270g) all-purpose flour
- 1 tsp cornstarch
- 1/2 tsp salt
- 1/2 cup (170g) jam (raspberry jam and apricot jam)
- 1/3 cup (66g) granulated sugar
Instructions
- Preheat your oven to 350°F (175°C). Line a baking sheet with parchment paper or a silicone baking mat.
- In a large mixing bowl, cream together the softened butter and granulated sugar until the mixture is light and fluffy, about 1-2 minutes. This can be done using a hand mixer or a stand mixer.
- Beat in the egg yolk and vanilla extract until well combined.
- Add the all-purpose flour, cornstarch, and salt. Mix on low until a soft cookie dough forms. Be careful not to overmix; just mix until the ingredients are combined.
- Shape the cookie dough into 1-inch balls. You can use a cookie scoop or your hands for this.
- Roll each cookie dough ball in granulated sugar until it’s coated evenly.
- Place the sugar-coated cookie dough balls onto the prepared baking sheet, spacing them about 2 inches apart. Use your thumb or the back of a teaspoon to create an indentation in the center of each cookie.
- Spoon a small amount (about 1/2 teaspoon) of jam into the indentation of each cookie.
- Bake the cookies in the preheated oven for 10-13 minutes or until the edges are lightly golden. Remove the cookies from the oven and let them cool on the baking sheet completely.
Notes
- Use your favorite flavor of jam or preserve for variation.
- Be careful not to over mix the dough for best texture.
- Prep Time: 20 minutes
- Cook Time: 13 minutes
- Category: Dessert
- Method: Baking
- Cuisine: American
Nutrition
- Serving Size: 1 cookie
- Calories: 120
- Sugar: 5g
- Sodium: 50mg
- Fat: 8g
- Saturated Fat: 5g
- Unsaturated Fat: 3g
- Trans Fat: 0g
- Carbohydrates: 10g
- Fiber: 0g
- Protein: 1g
- Cholesterol: 30mg