Follow Me On Social Media!

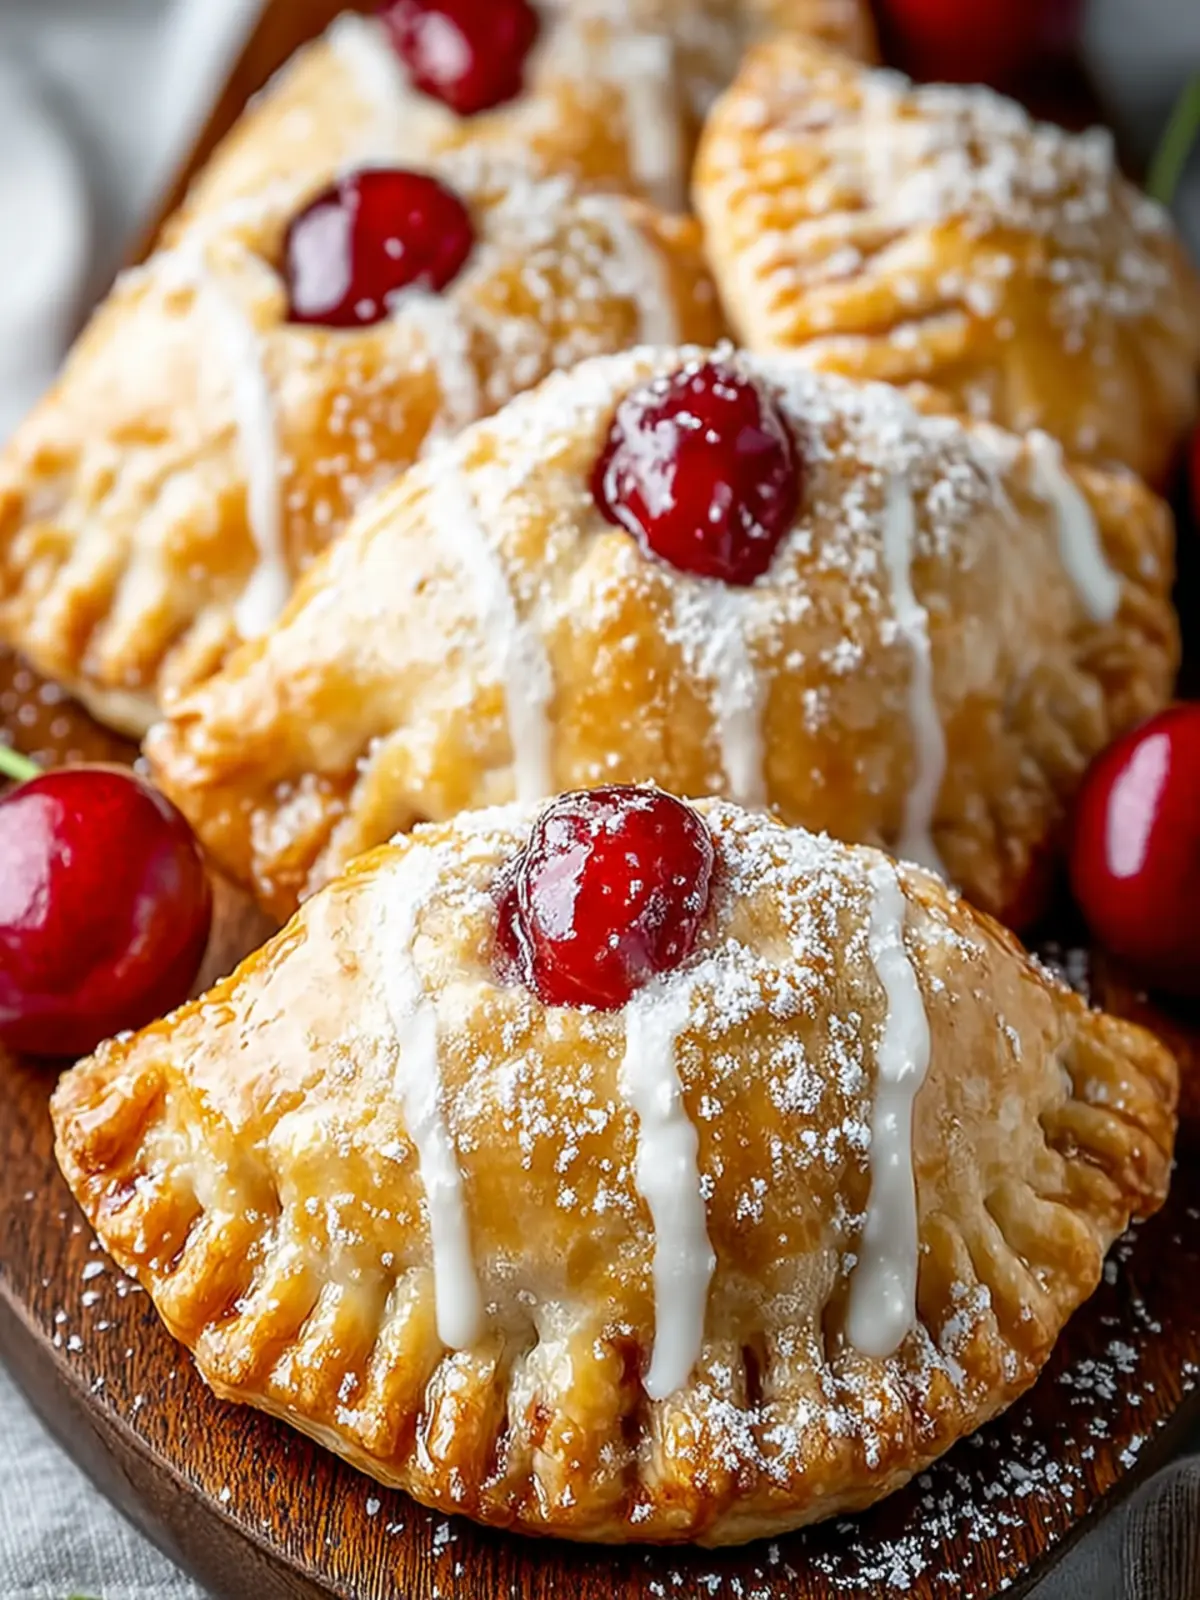
Delightful Cherry Hand Pies: Your Indulgent Homemade Treat
Introduction to Delightful Cherry Hand Pies for a Sweet Homemade Treat
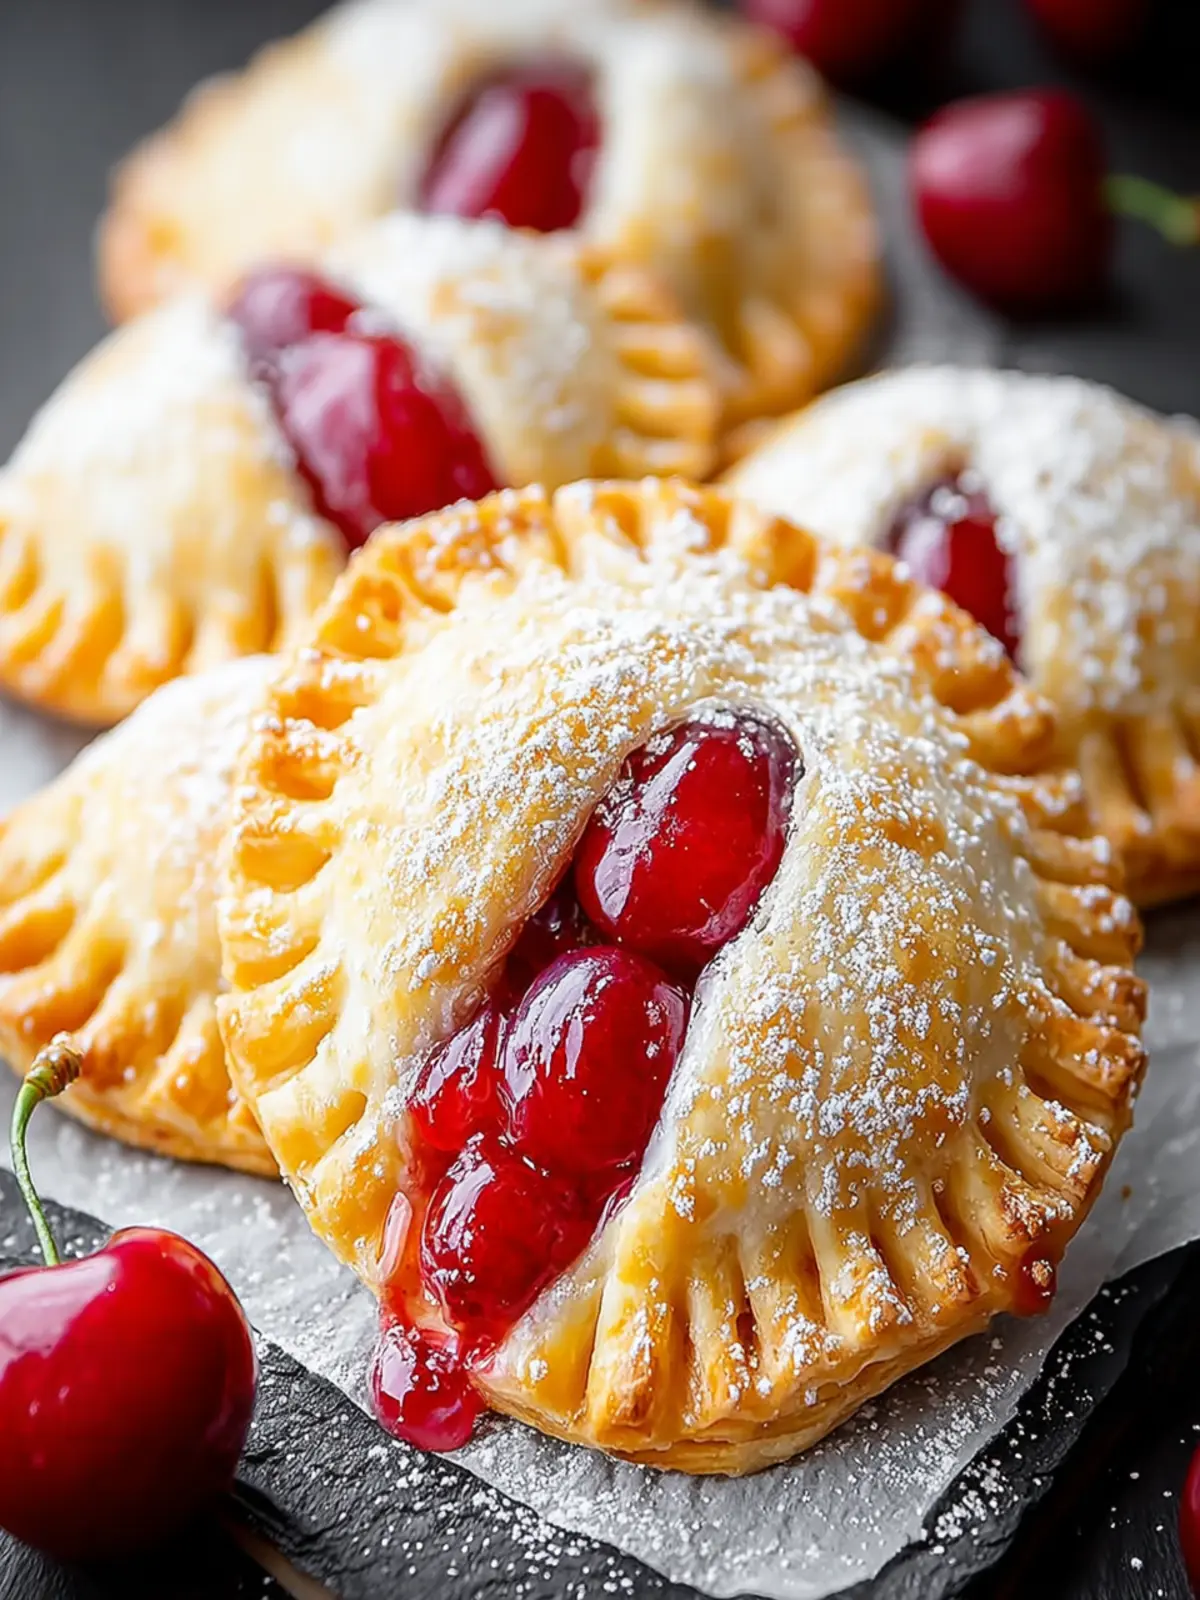
Imagine a warm, flaky crust cradling juicy, sweet cherries — that’s the essence of delightful cherry hand pies. These scrumptious pastries are more than just a dessert; they’re a nostalgic reminder of summer days spent picking cherries with friends and family. Hand pies offer a delightful opportunity to play with flavors and textures, whether you’re indulging at home or sharing them with loved ones.
The process of baking hand pies is nothing short of a joyful experience. The act of making dough and folding it around a filling connects us to a long-standing tradition of home baking that many of us hold dear. As you roll out the dough, you’ll discover the simple pleasure of working with your hands, and the aroma that fills your kitchen as they bake is simply irresistible. Plus, unlike larger pies, these individual-sized treats are perfect for sharing or enjoying as a quick snack on the go!
Why Baking Hand Pies Is a Delightful Experience
-
Creativity in Every Bite: Baking delightful cherry hand pies allows you to express your creativity. Whether you prefer a classic cherry filling or adding a dash of lemon zest to brighten things up, each batch can be uniquely yours.
-
Perfect for Any Occasion: Hand pies are suitable for picnics, birthday parties, or cozy nights at home. Their portable nature makes them ideal for indulging anytime, anywhere.
-
Simple Yet Satisfying: The beauty of hand pies lies in their simplicity. With just a handful of ingredients and a few easy steps, you can create a homemade treat that feels like a gourmet experience.
-
Sharing the Love: There’s something incredibly heartwarming about sharing delightful cherry hand pies. Whether you’re surprising a friend or treating your family, these little pastries convey love and affection in each bite.
Baking these delightful treats is an experience filled with joy, creativity, and connection. So roll up your sleeves and get ready to create some delicious memories with your very own cherry hand pies!
Key Ingredients for Delightful Cherry Hand Pies
Refrigerated Pie Crust
For effortless baking, look no further than refrigerated pie crust. This time-saver not only offers the convenience of quick prep but also ensures a flaky and tender foundation for our delightful cherry hand pies. Using a ready-made crust guarantees a uniform texture and delightful crunch that complements the tart cherry filling perfectly.
Cherry Pie Filling
The star of the show in your cherry hand pies is undoubtedly the cherry pie filling. I love opting for a good-quality variety that brings a burst of flavor in every bite. Whether you use homemade or store-bought, it serves as the sweet centerpiece that captures the essence of summer.
Eggs
Eggs play a crucial role in these pies; they add richness and help bind the crust together. Not only do they give our hand pies a beautiful golden finish, but they also ensure the structure stands strong, holding in those juicy cherry vibes.
Water
It’s amazing how just a splash of water can elevate your baking. In this recipe, it helps create the egg wash that seals the edges, ensuring no delicious cherry filling escapes. Plus, it adds that lovely glossy top that makes every bite irresistible.
Coarse Sanding Sugar
Lastly, let’s sprinkle some coarse sanding sugar on top for the final touch. This sugar doesn’t just add a delightful crunch and sweetness; it sparkles like magic on your hand pies, making them look as enticing as they taste.
Why You’ll Love This Recipe
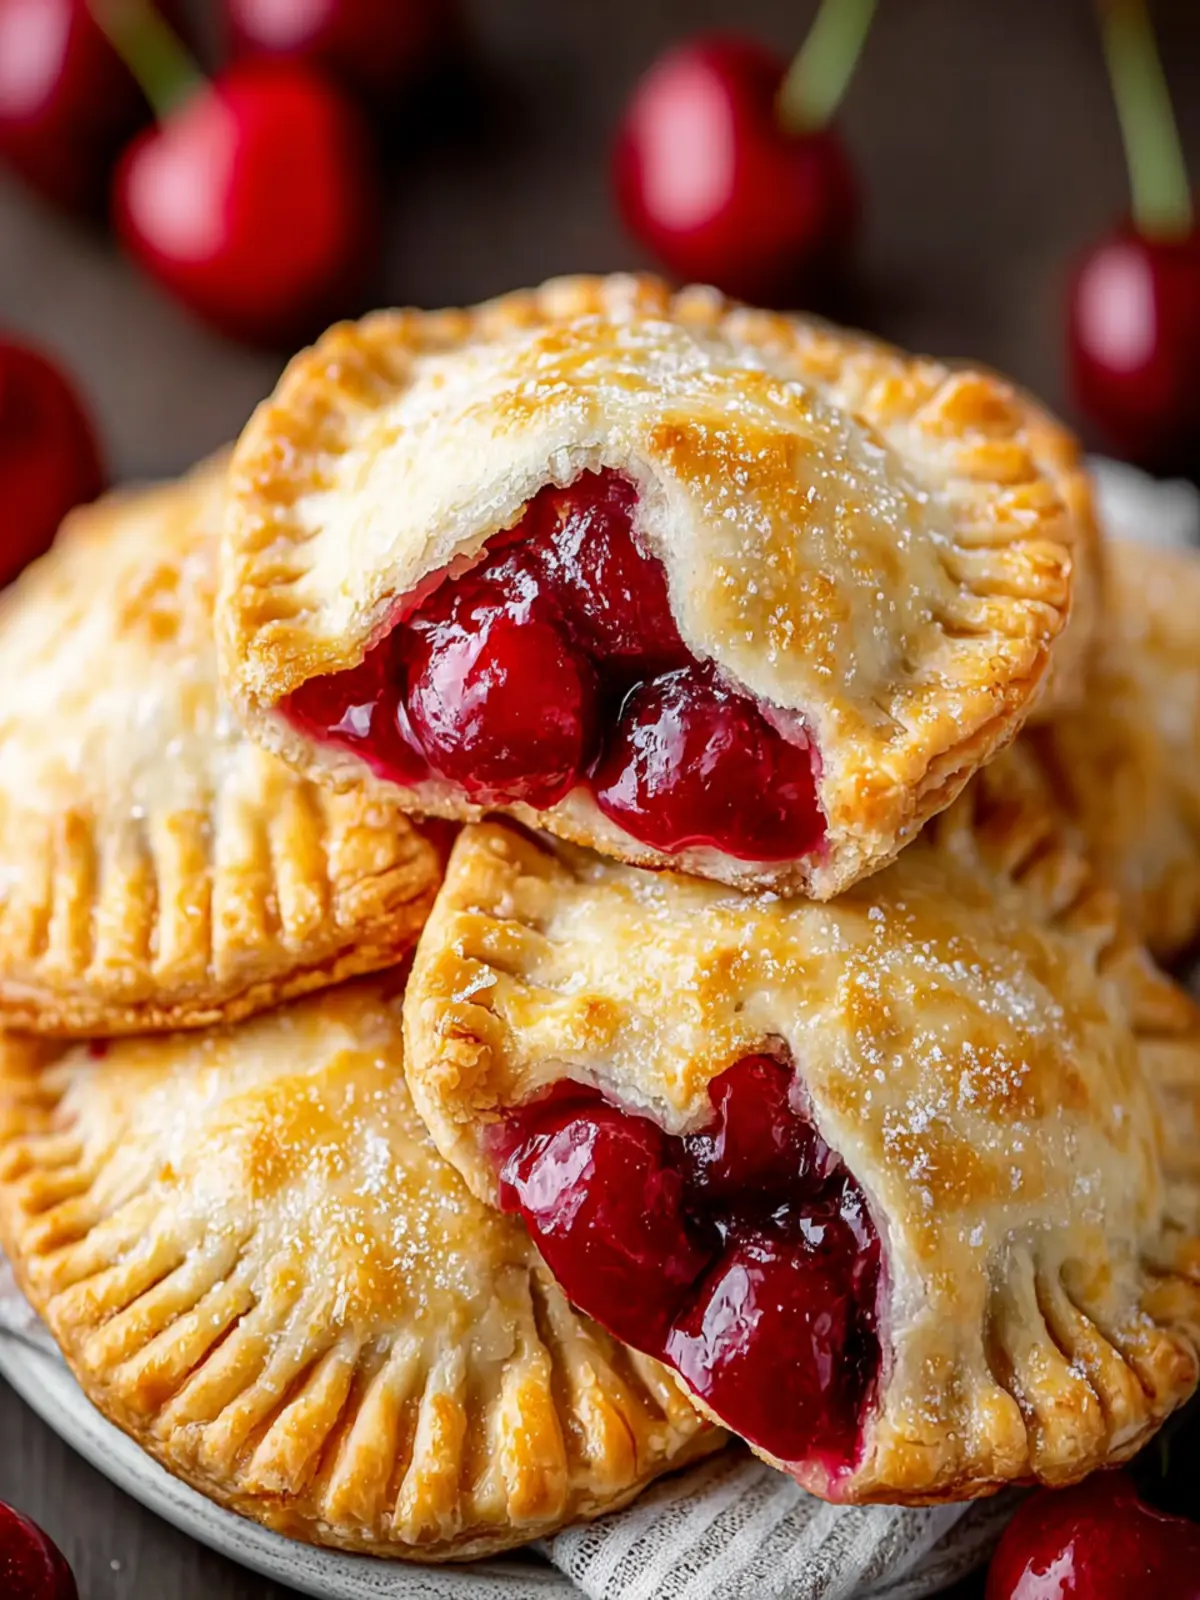
Creating delightful cherry hand pies is not just about whipping up a dessert; it’s about crafting sweet memories and indulging in the rich flavors of summer. Imagine biting into a flaky crust that gives way to a burst of tart cherries, evoking memories of backyard barbecues and family gatherings. This recipe not only brings those flavors to life but also allows you to experience the joy of homemade baking.
Here’s why you’ll adore making these hand pies:
-
Simplicity at its Best: The recipe is straightforward, making it perfect for both inexperienced bakers and seasoned pros. With just a handful of ingredients, you won’t have to spend all day in the kitchen.
-
Customizable Flavors: You can easily tweak the filling with other fruits or spices, making this recipe versatile enough for any season. Whether you want to mix in some almond extract or try apple or blueberry, the options are endless!
-
Perfect for Sharing: These hand pies are ideal for gatherings, from casual picnics to potlucks. Showing up with a box of delightful cherry hand pies is sure to make you the star of the event.
-
Fun to Make: Get your friends or family involved and turn the process into a fun activity. Rolling dough, filling the pies, and finally indulging in the finished product will create laughter and smiles.
By the end, you’ll have more than pastries; you’ll have a delightful baking experience to cherish!
Cooking Tips and Notes for Perfect Hand Pies
Creating delightful cherry hand pies can feel like a delightful adventure in your kitchen, one that evokes childhood memories of warm, flaky pastries. To ensure your hand pies are perfectly scrumptious, here are some handy tips:
Choose Your Cherries Wisely
The foundation of your pies lies in your cherry selection. For the sweetest, most vibrant flavor, opt for fresh, ripe cherries. If they’re out of season, high-quality frozen cherries can also work wonders. Just ensure to thaw and drain them to prevent excess moisture.
Perfectly Flaky Dough
A key to achieving that ideal flaky crust is to keep your ingredients cold. Use cold butter and ice-cold water when mixing your dough. When you roll it out, don’t overwork it; a gentle touch ensures your crust remains tender.
Mind the Filling
Don’t overload your hand pies with filling, but ensure there’s enough to deliver that satisfying burst of cherry goodness. About one tablespoon of filling per pie is usually perfect.
Bake Until Golden
Keep an eye on your hand pies as they bake. You want them to turn a beautiful golden brown. This not only looks inviting but also signifies that your crust is deliciously crisp.
With these tips, your delightful cherry hand pies will not only taste amazing but also spark joy in every bite. Happy baking!
Serving Suggestions for Hand Pies
What’s better than sinking your teeth into delightful cherry hand pies straight from the oven? Picture a cozy evening with a friend or loved one, sharing stories over these warm treats. To elevate your experience, consider these serving suggestions that make these hand pies even more irresistible.
Pair with Ice Cream
A scoop of vanilla or almond ice cream takes these hand pies to another level. The creamy texture balances the sweet-tartness of the cherry filling perfectly.
Add a Drizzle of Glaze
Create an easy glaze with powdered sugar and a splash of milk or lemon juice. Drizzle it over the warm hand pies for a beautiful finish and added sweetness.
Enjoy with Fresh Whipped Cream
Homemade whipped cream is a game changer. Add a dollop to your plate when serving, and it complements the delightful cherry hand pies beautifully.
Serve with a Side of Coffee or Tea
These hand pies double as a delightful afternoon snack. Pair them with a cup of your favorite tea or coffee to enjoy a moment of relaxation.
Remember, these simple suggestions will enhance your hand pie experience, making each bite a little more special!
Time Breakdown for Making Hand Pies
Creating delightful cherry hand pies from scratch is a rewarding experience, and understanding the time involved can help you plan better. Here’s a quick overview of what to expect.
Preparation Time
Expect to spend about 30 minutes preparing your ingredients and assembling these delightful treats. This includes pitting and chopping the cherries, mixing the dough, and rolling it out.
Baking Time
Once your hand pies are assembled, they’ll need around 20-25 minutes in the oven. Keep an eye on them to ensure a golden-brown finish.
Total Time
From start to finish, you’re looking at approximately 55-60 minutes to create these delightful cherry hand pies, making it a perfect afternoon project that will leave your kitchen smelling sweet.
Nutritional Facts for Hand Pies
When making delightful cherry hand pies, it’s just as important to know what’s inside them as it is about savoring their delicious flavor. These hand pies are a perfect blend of sweetness and richness while still being mindful of calories.
Calories
Each delightful cherry hand pie contains approximately 200 calories, making it a satisfying treat without going overboard.
Carbohydrates
With around 30 grams of carbohydrates, these hand pies provide a quick energy boost, perfect for an afternoon pick-me-up.
Sugars
Each pie has about 10 grams of sugar, derived mainly from the cherry filling and the crust, ensuring a sweet yet balanced taste without excessive sweetness.
These figures can vary based on how many cherries you pack in or whether you prefer a flakier crust!
FAQs about Delightful Cherry Hand Pies
When crafting your delightful cherry hand pies, you might have questions to ensure they turn out perfectly delectable. Here are some common inquiries to help you navigate the process with ease.
How do I prevent my hand pies from leaking?
One of the keys to achieving perfect hand pies is ensuring that they are well-sealed. Here are some tips:
- Seal the edges properly: Use a fork to crimp the edges of the dough firmly after sealing them with your fingers. This creates a tighter seal that helps prevent leaks.
- Don’t overfill: While it’s tempting to add a generous helping of filling, overstuffing can lead to overflowing. Stick to just a spoonful or two of cherry filling for each pie.
- Poke a vent: Use a small knife or fork to create vent holes in the top of the pie. This allows steam to escape, reducing pressure that can cause the filling to ooze out.
Can I use fresh cherries instead of pie filling?
Absolutely! Using fresh cherries will yield a lovely, bright flavor in your delightful cherry hand pies. If you opt for fresh fruit, make sure to pit and chop the cherries. Additionally, you may want to toss them in a bit of sugar and cornstarch to help create a syrupy filling that thickens as it bakes.
How can I store leftover hand pies?
To keep your delightful cherry hand pies fresh after baking, consider these storage tips:
- Room temperature: If you plan to eat them within a couple of days, store the hand pies at room temperature in an airtight container.
- Refrigeration: For longer storage, keep them in the fridge, where they should last about a week.
- Freezing: To preserve them for an extended period, freeze your hand pies. Ensure they are completely cooled, then wrap them in plastic wrap and foil before placing them in a freezer-safe bag. They can be reheated directly from the freezer!
Enjoy crafting your delicious cherry treats—there’s nothing like a homemade dessert to bring a smile!
Conclusion on Delightful Cherry Hand Pies
In wrapping up this delightful journey into the world of delightful cherry hand pies, I hope you feel inspired to attempt this charming treat at home. The combination of crisp pastry and sweet, tangy cherry filling creates an experience that’s both satisfying and rewarding. These hand pies are perfect for sharing with friends during a cozy gathering or indulging in during a quiet evening at home. Don’t forget, the secret ingredient is a dash of love sprinkled into the mix! So gather your ingredients and get ready to impress with this delightful dessert that brings the spirit of homemade goodness into every bite.
Print
Cherry Hand Pies
- Total Time: 55 minutes
- Yield: 14 hand pies 1x
Description
Delicious cherry hand pies made with refrigerated pie crust and cherry pie filling.
Ingredients
Scale
- 3 boxes Refrigerated pie crust (2 crusts each)
- 1 can (21 ounces) Cherry pie filling
- 2 large Eggs
- 2 tablespoons Water
- Coarse sanding sugar (as desired)
Instructions
- Preheat your oven to 350°F.
- Thaw the refrigerated pie crust according to the package directions for a flexible, easy-to-work-with dough.
- Prepare your baking surface by lining a large cookie sheet with parchment paper; this helps prevent sticking and makes cleanup a breeze.
- Roll out one thawed pie crust to a thickness between ¼” and ⅛”, ensuring it’s smooth without cracks or holes. This will be the base for your hand pies.
- Cut shapes using a 3-4 inch holiday tree cookie cutter. Aim for about 7 trees and keep any excess crust aside. Repeat with the remaining pie crusts until you’ve cut out all your shapes.
- Spoon filling into the center of each tree, adding about 1 to 1½ tablespoons of cherry pie filling. Brush the edges with egg wash for sealing.
- Layer another tree shape on top of the filling. Gently press the edges together without squishing the filling to keep it intact.
- Seal the seams by pressing the tines of a fork around the edges. Cut a few slits in the top crust for venting.
- Brush the tops of your hand pies with the leftover egg wash. If desired, sprinkle with coarse sanding sugar.
- Bake for 20-25 minutes or until they are golden brown and beautifully puffed. Transfer them to a cooling rack.
Notes
- For a golden glaze, use the egg wash generously.
- Experiment with different fillings like apple or blueberry for variety.
- Prep Time: 30 minutes
- Cook Time: 25 minutes
- Category: Dessert
- Method: Baking
- Cuisine: American
Nutrition
- Serving Size: 1 hand pie
- Calories: 220
- Sugar: 12g
- Sodium: 150mg
- Fat: 10g
- Saturated Fat: 3g
- Unsaturated Fat: 6g
- Trans Fat: 0g
- Carbohydrates: 30g
- Fiber: 1g
- Protein: 3g
- Cholesterol: 30mg